
Instagramの写真をDropboxに保存したり、Gmailの重要なメールをEvernoteに保存したりなど、様々なWEBサービスやSNS同士を連携させることができるIFTTT。
今回は、このIFTTTを使ってWordPressの投稿記事をTwitterに連携する方法を紹介させていただきます。
IFTTT へアクセス
以下のページからIFTTTへアクセスします。IFTTT
アカウントの登録
画面に従ってアカウントを新規で作成します。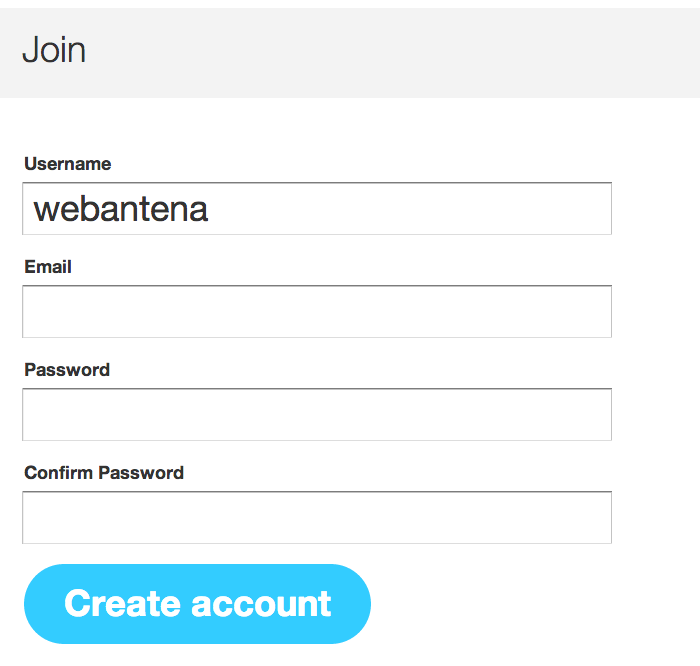
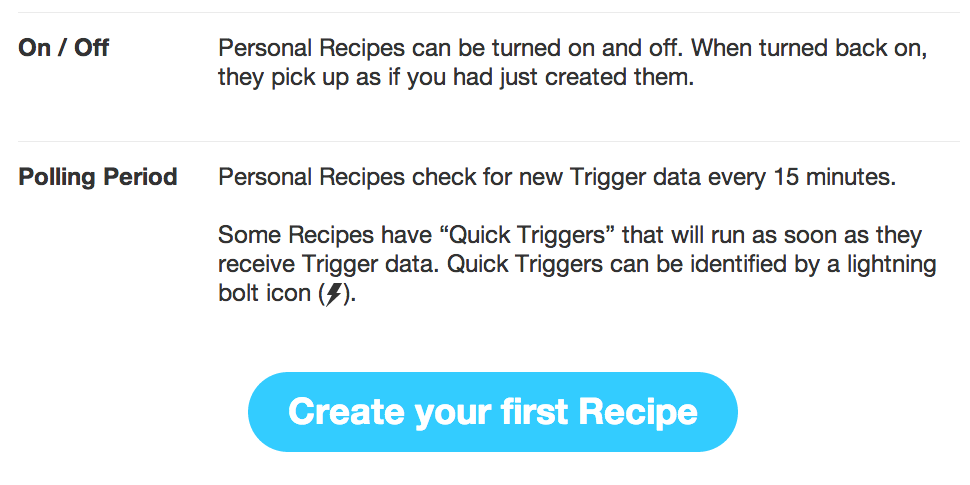
会員登録が完了すると「About IFTTT」ページに遷移します。
ここではIFTTTで出来るコトなどが紹介されています。
IFTTTでは「ブログとSNS」や「メールと Dropbox」のように、様々なサービス(チャンネル)同士を連携することができ、それらをRecipeとして複数管理することが可能です。
Recipeの作成
「About IFTTT」ページの下部の「Create your first Recipe」ボタンをクリックして最初の Recipe を作成してみましょう。今回はWordPressの投稿記事をTwitterに自動連携する Recipe を作ってみます。
WordPressの設定
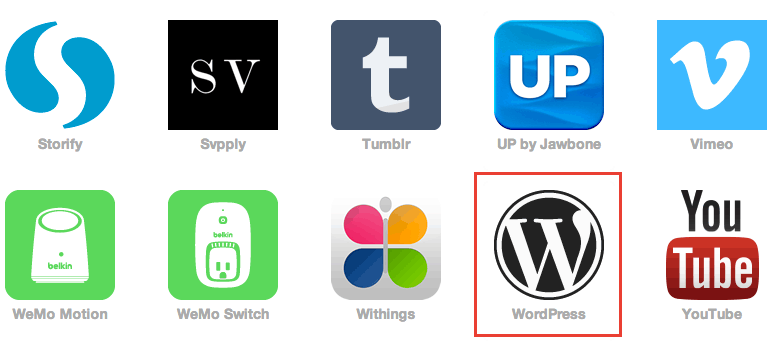
「Create a Recipe」ページの 「this」のリンクをクリックしてチャンネル選択画面へ移動します。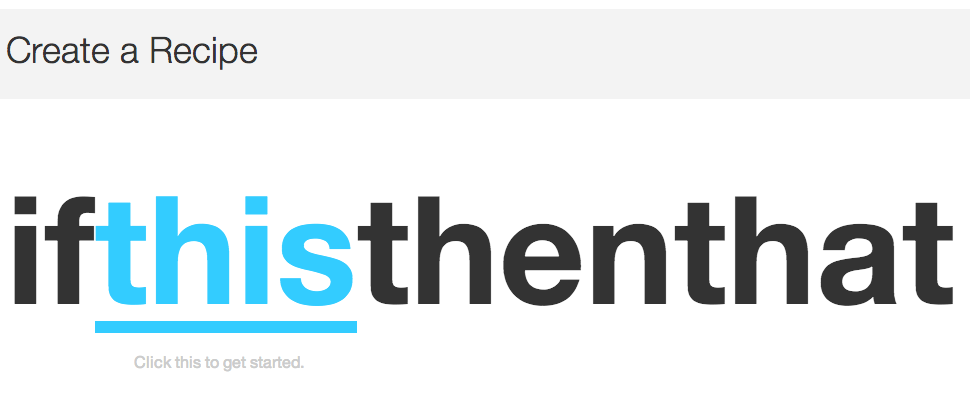
様々なSNSなどのサービスがありますが、その中から「WordPress」を選択します。
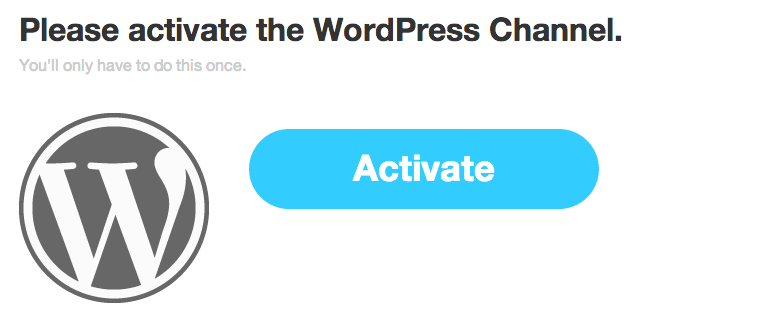
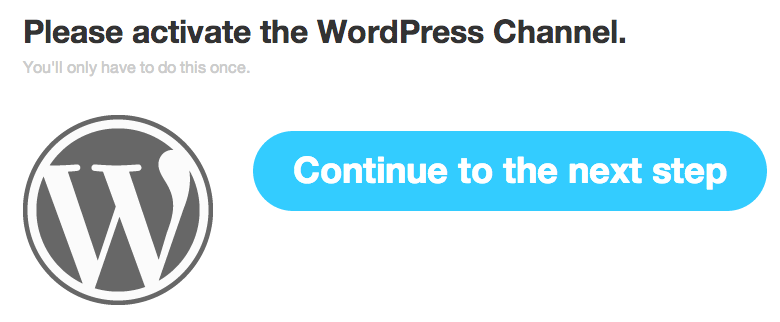
まずはWordPress アカウント認証を行いますので「Activate」ボタンをクリックします。
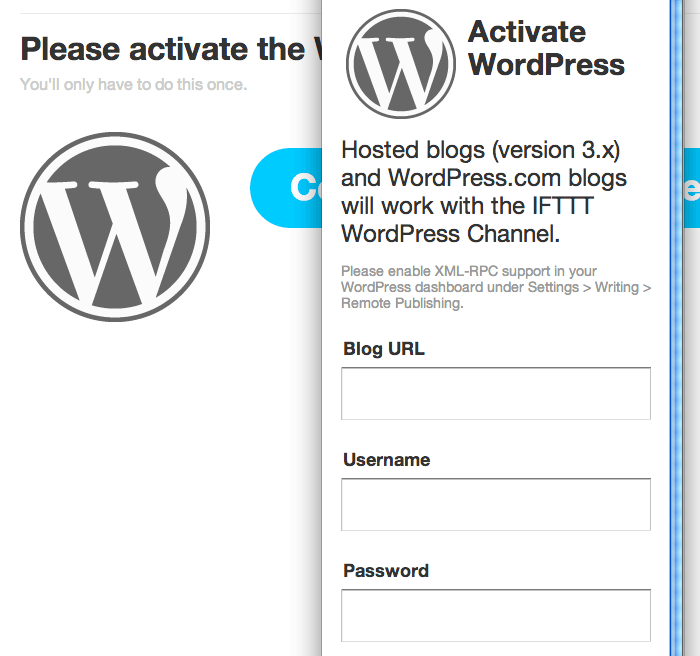
ご利用のWordPres ブログのURLとユーザー名、パスワードを入力します。
無事に認証が終われば「Done」ボタンをクリックしてから、
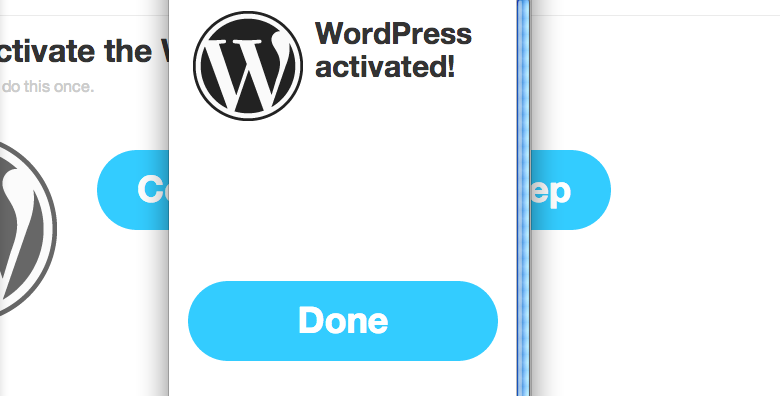
「Continue to the next step」ボタンをクリックします。
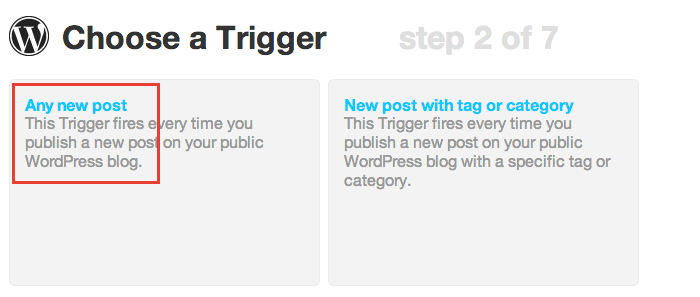
「Choose a Trigger」ページでWordPressの投稿形式を選択しますが、
今回はWordPressの記事が投稿されたら記事のタイトルとURLをTwitter で自動ツイートしようと思うので、「Any new post」を選択します。
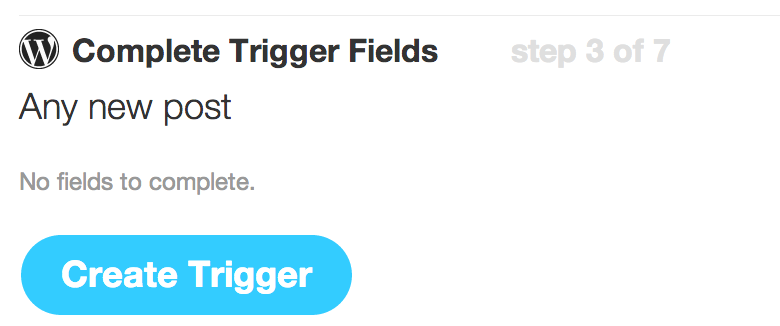
これでWordPress側の設定は完了ですので「Create Triger」ボタンをクリックします。
Twitterの設定
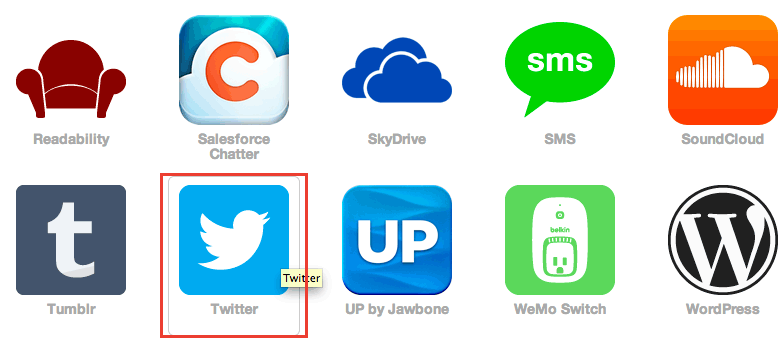
今度は連携先となるTwitterの設定を行うため、ページの指示に従って「that」のリンクをクリックします。
サービスの中から「Twitter」を選択します。
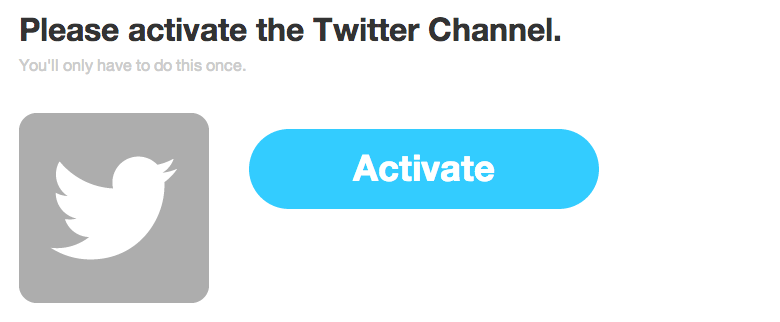
Twitterアカウント認証を行いますので「Activate」ボタンをクリックします。
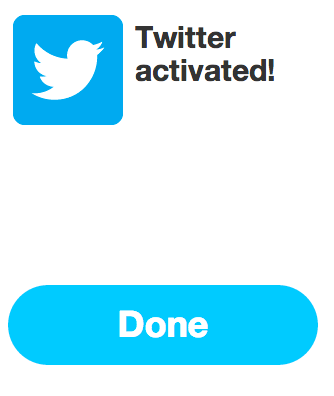
無事に認証が終われば「Done」ボタンをクリックして、
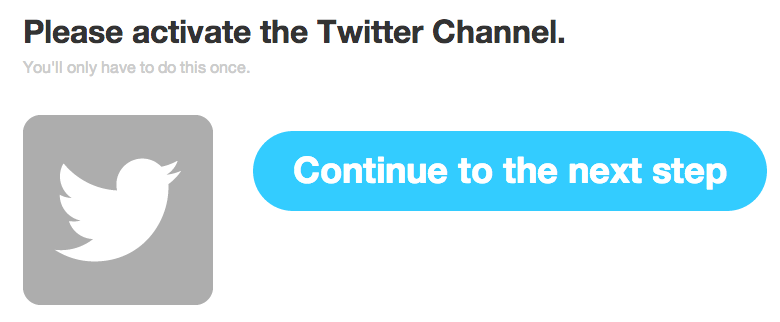
「Continue to the next step」ボタンをクリックします。
「Choose a Action」ページでTwitter への出力形式を選択しますが、今回はシンプルにWordPressの記事を自動でツイートしたいだけなので、左上の「Post a tweet」を選択します。
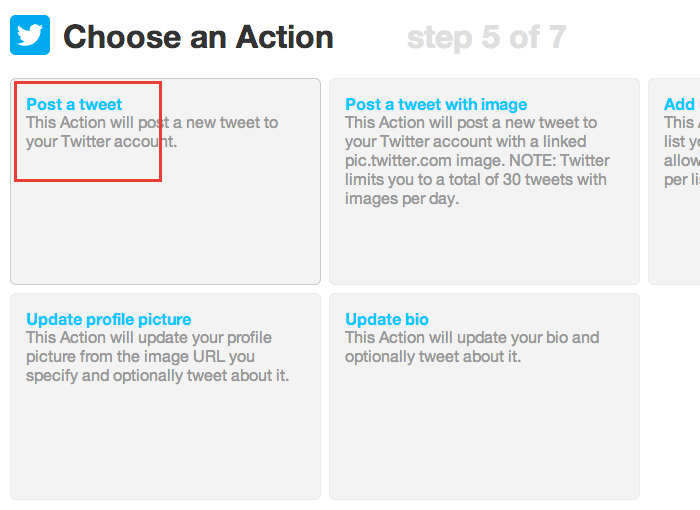
WordPressの投稿記事のURLやタイトル、投稿日時など、Twitter側の出力形式はカスタマイズすることができます。
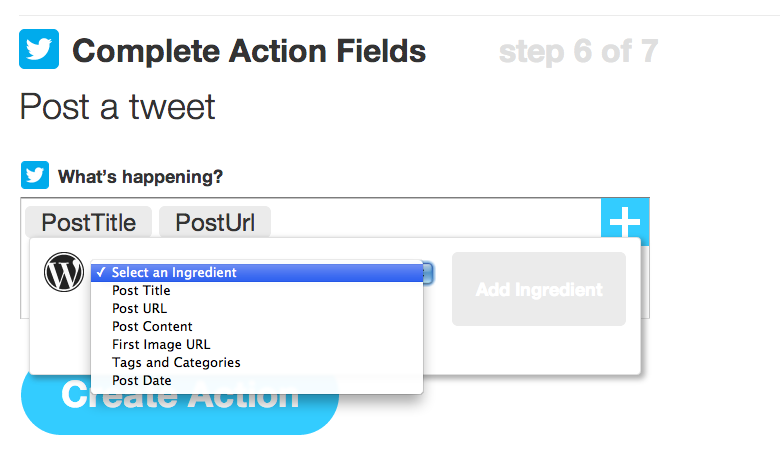
先のページで「Create Action」ボタンをクリックすれば、Twitterの設定はこれにて終了です。
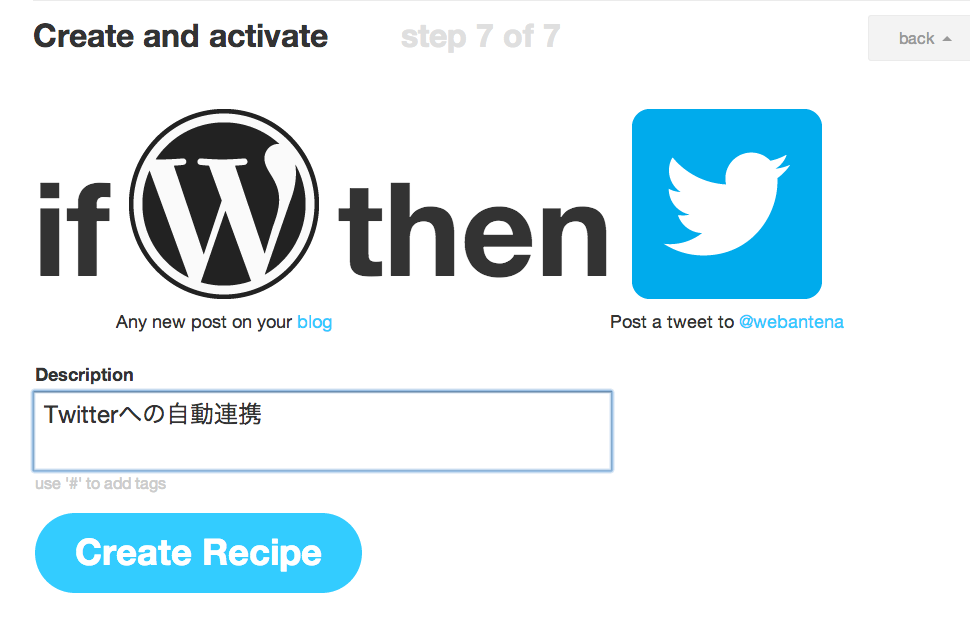
後は今回作った Recipeに説明文を入れておく場合に「Descroption」を入力(任意)してから「Create Recipe」ボタンをクリックします。
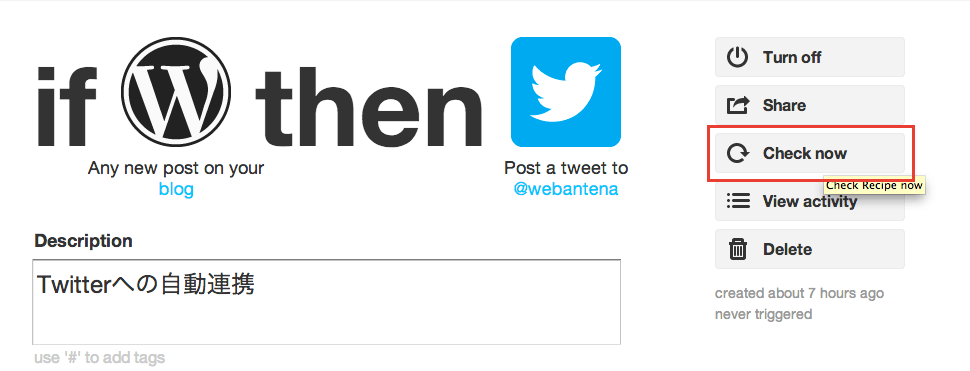
WordPressの投稿直後にTwitterに連携されない場合
記事投稿直後は Twitter で自動ツイートされるのにやや時間がかかる場合があります。なかなかTwitterに連携されない場合は、Recipeの詳細ページより「Check now」ボタンをクリックすることで連携するようになるかと思います。


コメント