
以前のAutomatorを使ってPDFファイルを結合する方法 の記事では、PDFを「連結」する方法のご紹介でしたが、
今回は逆に、Automatorを使って連結された複数ページのPDFを、1つ1つのPDF へと「分解」する方法を紹介させていただきます。
Automatorで複数ページのPDFを分解
Mac のアプリケーションフォルダから「Automator」を起動し、「ワークフロー」を選択します。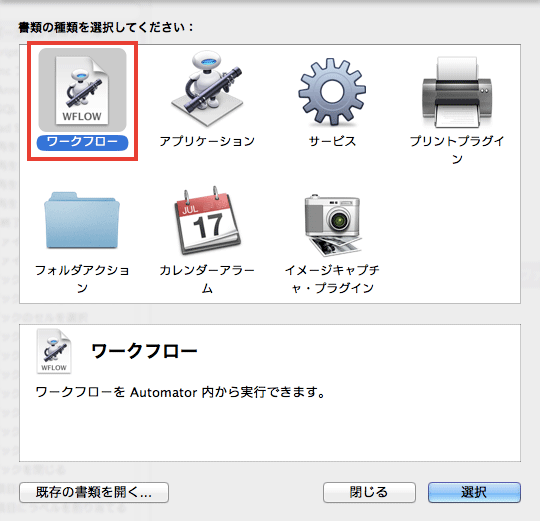
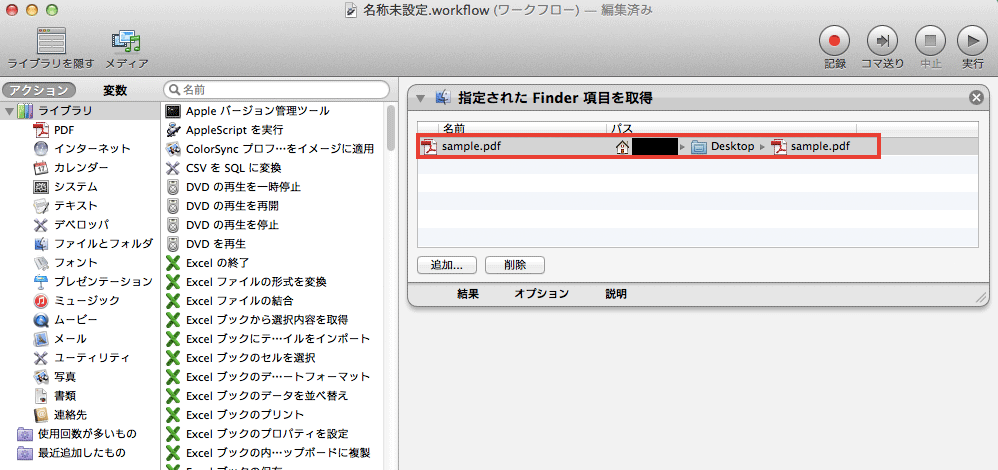
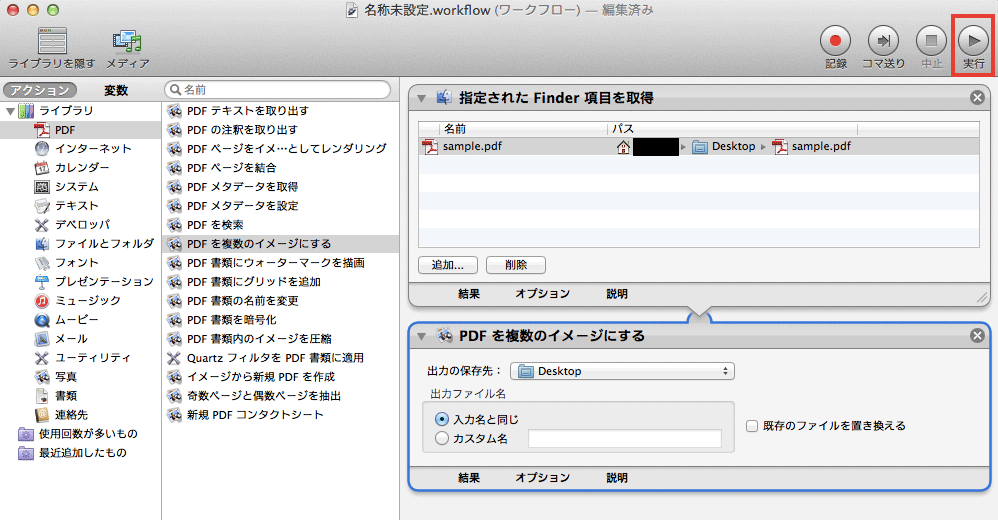
分解したいPDFファイルを、下図のようにウィンドウの右側にドラッグ&ドロップします。
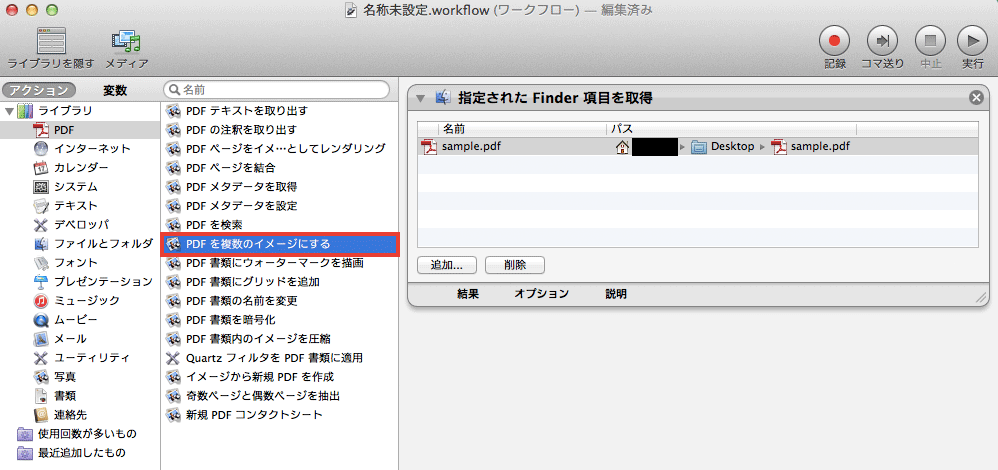
左カラムの「ライブラリ」から「PDF」を選択し、その右メニューの中から「PDFを複数のイメージにする」をダブルクリックします。
ウィンドウ右側に「PDFを複数のイメージにする」のフローが表示されますので、出力の保存先を選択し、出力ファイル名の指定を行います。
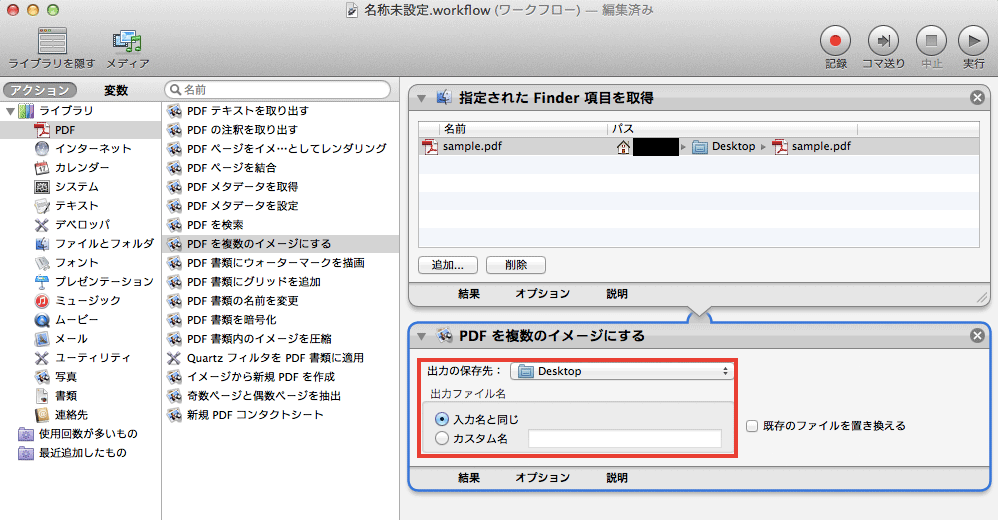
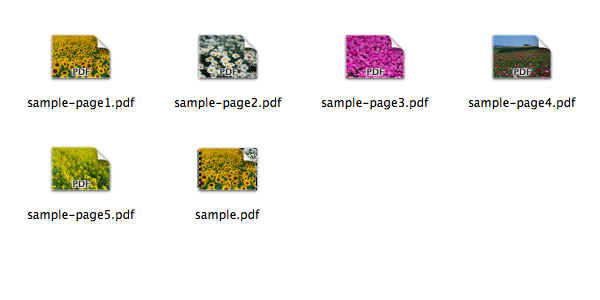
最後に、ウィンドウ右上の「実行」ボタンをクリックすると、
PDFが分解されます。


コメント